

Imagine walking into your living room and feeling an instant spark of curiosity—like you’re stepping into a new exhibition every few weeks. The secret isn’t a massive renovation or a pricey art acquisition; it’s a thoughtfully curated seasonal gallery that lives, breathes, and evolves with the rhythm of your life. I’m Jessica, and I’ve turned my own home into a dynamic showcase that feels fresh all year long without breaking the bank or overwhelming my schedule.
Why a Seasonal Gallery Works
Our environments shape our moods. A static décor can become background noise, while a rotating display keeps our senses engaged. A seasonal gallery does three things simultaneously:
- Invigorates the visual palate: New colors, textures, and narratives prevent visual fatigue.
- Celebrates the calendar: Aligning pieces with holidays, weather, or personal milestones adds meaning.
- Encourages mindful curation: The act of choosing what to display becomes a ritual of intention and creativity.
Unlike the more common “refresh your space with a new paint color” or “add a few plants for life,” a seasonal gallery is a low‑maintenance habit that you can tailor to any budget.
Step 1: Audit Your Existing Collection
Before you buy anything, take stock of what you already own. Look through photo albums, postcards, kids’ artwork, travel souvenirs, and even that stack of vintage postcards your grandma gave you. Everything can become a piece of the gallery.
Separate items into three buckets:
- Keep Forever: Heirloom pieces that deserve a permanent spot.
- Rotate Often: Items that are flexible enough to move in and out.
- Store or Donate: Anything that doesn’t fit your aesthetic or space constraints.
For the “store” pile, I turned to Hidden Storage Hacks for clever ways to tuck away artwork in decorative boxes, under‑sofa drawers, or even behind picture frames. The key is to keep them accessible so swapping becomes a breeze.
Step 2: Define Your Seasonal Themes
Think of the year as a series of moods:
- Winter Calm: Muted blues, soft whites, and cozy textures.
- Spring Awakening: Fresh greens, florals, and light‑hearted prints.
- Summer Vibrancy: Bold yellows, turquoise, and beach‑inspired pieces.
- Autumn Warmth: Rich oranges, deep reds, and earthy tones.
Pick a theme that resonates with you and the space you’re dressing. My favorite trick is to match the theme to the natural light in a room—sun‑drenched rooms get summer hues, while a north‑facing study thrives on winter coolness.
Step 3: Curate with Intentional Pairings
When you hang a new piece, think about how it converses with what’s already on the wall. Consider the following pairing principles:
- Color Echo: Use one dominant hue from a new artwork to highlight an existing throw pillow or rug.
- Scale Contrast: Pair a large statement piece with a cluster of smaller frames to create visual rhythm.
- Material Dialogue: A wooden frame can balance a glossy metal sculpture, adding texture variety.
Don’t feel forced to fill every inch. Negative space is a design ally; it lets each item breathe and prevents the gallery from feeling cluttered.
Step 4: Choose Flexible Display Solutions
Rigid picture rails can limit you, so I switched to modular systems:
- Gallery Rails with Adjustable Hooks: Slide hooks horizontally to shift compositions without drilling new holes.
- Floating Shelves: Perfect for small sculptures, books, or decorative boxes that can be swapped weekly.
- Magnetic Boards: Ideal for kids’ artwork or travel postcards—just stick and peel.
If you’re short on wall real estate, think vertical. A tall, narrow “gallery column” can host a cascading series of frames, turning an empty hallway into a story‑telling spine.
Step 5: Incorporate Multi‑Sensory Elements
While the focus is visual, a truly immersive gallery engages other senses:
- Scent: Lightly mist a room with a fragrance that matches the season—cinnamon for autumn, citrus for spring.
- Sound: Pair a winter gallery with soft instrumental music; a summer display might feature a subtle wave soundtrack.
- Tactile: Include a small, textured object—like a woven coaster or a smooth river stone—that visitors can touch.
These layers make the gallery feel like an experience rather than a static wall.
Step 6: Schedule Your Rotations
Consistency is the secret sauce. I set a simple calendar reminder at the start of each month:
- Review the current theme.
- Pick 2‑3 new items from the “Rotate Often” pile.
- Swap them in, adjust lighting, and step back to assess balance.
For those who love a bit of drama, try a “mid‑season refresh” where you completely overhaul the wall on a weekend, turning the process into a mini‑project that feels like a home makeover without the mess.
Step 7: Make the Entryway Your Gallery Gateway
The entryway is the first impression of your home, and a small, curated vignette can set the tone for the whole house. I took inspiration from Turn Your Entryway Into a Stress‑Busting Power Hub and added a narrow ledge to showcase a rotating seasonal print, a scented candle, and a tiny plant. The result? Guests comment on how “inviting” the foyer feels, and I get a daily reminder of the season’s vibe as I leave for work.
Step 8: Capture and Reflect
Document your gallery journey with photos. Over time, you’ll have a visual diary that shows how your taste evolves. This also helps you decide which pieces truly belong in the “Keep Forever” category and which are better suited for future rotations.
Even better, share a quarterly “gallery update” with family or friends. It sparks conversation, invites fresh ideas, and turns your home into a collaborative canvas.
Bonus: Eco‑Friendly Rotations
For the sustainability‑savvy, consider these green twists:
- Upcycle Frames: Give old frames a fresh coat of paint or repurpose them as shadow boxes.
- Swap with Neighbors: Organize a community art swap—everyone gets new pieces without buying new.
- Digital Displays: Use a small digital photo frame for rotating scans of kids’ artwork, reducing paper waste.
These ideas keep your gallery fresh while reducing its environmental footprint.
Putting It All Together: A Sample Seasonal Rotation Plan
Below is a practical, week‑by‑week roadmap you can copy‑paste into your calendar:
- Week 1 (Winter): Feature a monochrome abstract, a woven throw, and a scented pine candle.
- Week 2 (Winter): Swap the abstract for a black‑and‑white photograph of a snowy landscape; add a copper vase.
- Week 3 (Spring Preview): Introduce a pastel watercolor and a small terrarium; keep the pine candle for contrast.
- Week 4 (Spring Launch): Remove all winter pieces, bring in bright botanical prints, and replace the candle with a citrus diffuser.
Repeat the pattern for summer and autumn, adjusting colors and textures to match the season’s personality. The framework is flexible—you can rotate monthly, bi‑monthly, or whenever inspiration strikes.
Final Thoughts
A seasonal gallery is more than décor; it’s a living, breathing extension of your personal narrative. By curating, rotating, and reviving your home’s visual story, you create a space that feels perpetually new, deeply personal, and endlessly inspiring. And the best part? You don’t need a designer’s budget—just a handful of thoughtful pieces, a modular hanging system, and a willingness to experiment.
So, pull out that stack of postcards, dust off the vintage frames, and let the seasons guide your creative hand. Your walls are waiting to tell a new story—what will yours say?

Jessica Gills is a freelance writer carving a niche for herself by empowering others through her words. With a focus on careers, self-development, and business, she helps readers navigate the complexities of the modern professional landscape.
Related Posts
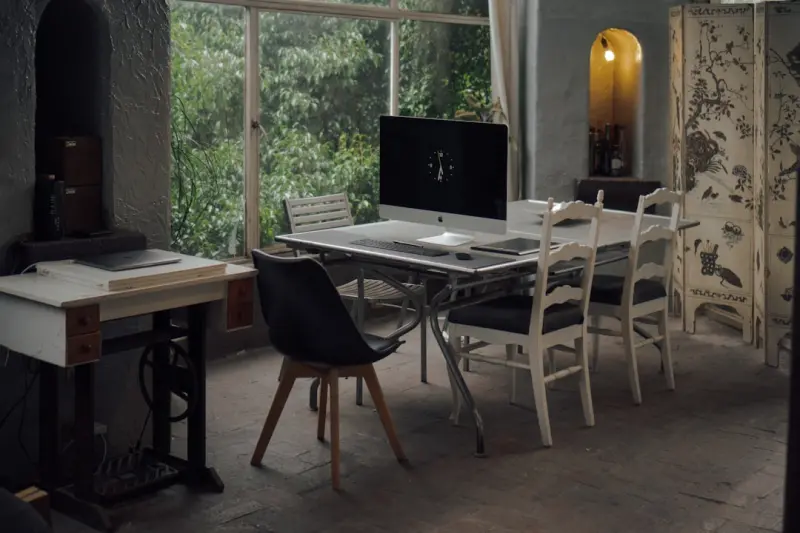
Upcycled‑Furniture Home Office: Turning Second‑Hand Finds Into a Productivity Hub
Discover a step‑by‑step plan to create a high‑performing home office using reclaimed furniture... Read More

Plug‑In Power: DIY Smart Energy Hacks for Every Home
A step‑by‑step guide to creating a DIY energy audit, using smart plugs, lighting, and simple ins... Read More
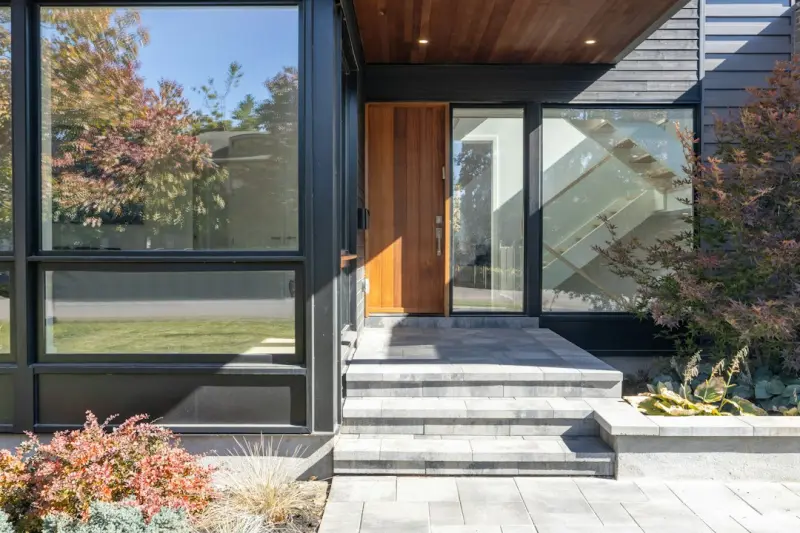
Entryway Zen: Turning Your Front Door Into a Calm, Functional Hub
Learn how to convert a chaotic entryway into a calming sanctuary with purposeful decluttering, multi... Read More
Top Posts

The Portfolio Career Playbook: Turning Multiple Gigs into a Sustainable Full‑Time Life
Learn the step‑by‑step roadmap to build a thriving portfolio career, balancing flexibility, legal safeguards, and financial planning for long‑term success...Read More

Turning Your Backyard into a Productivity Oasis
A garden desk isn’t just furniture—it’s a lifestyle upgrade that merges work, wellness, and home harmony. Learn to craft a backyard oasis that fuels produ...Read More

Curating Your Digital Information Diet for Mental Clarity
A practical guide to transforming your online consumption into a mental super‑fuel, featuring content audits, scheduled intake, soundscape resets, and habit l...Read More

Flavor Trails: Mapping Meals to Transform Your Travels
Explore the practice of culinary cartography—mapping dishes, locations, and stories—to enrich travel experiences, foster sustainable eating, and build lasti...Read More
0 Comments
Post Comment
You will need to Login or Register to comment on this post!