
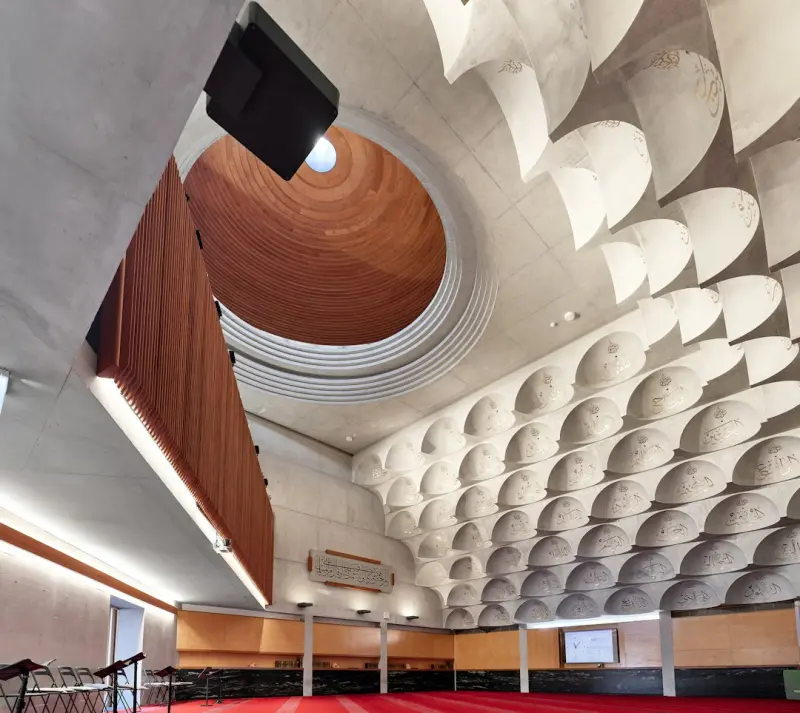
When I first moved into my third‑generation house, I thought the biggest upgrade I needed was a new coat of paint. I was wrong. The real transformation began when I realized that sound—often ignored, rarely measured—was shaping every moment inside those walls. The hum of the refrigerator, the clatter of dishes, the distant murmur of traffic—all of these subtle vibrations dictate whether a kitchen feels lively or chaotic, whether a study becomes a sanctuary or a stress‑factory. In this post I’ll walk you through the process of acoustic zoning: a pragmatic, low‑budget strategy to sculpt sound, create quiet corners, and ultimately make your home a place that supports the life you want to live.
Understanding the Hidden Language of Sound
Sound travels in waves, bouncing off hard surfaces, slipping through cracks, and getting absorbed by soft materials. Most homeowners treat their spaces as visual canvases, but every room also has an acoustic fingerprint. If you’ve ever tried to hold a conversation in a bustling open‑plan kitchen while your child is doing homework in the adjacent living room, you’ve experienced acoustic interference firsthand.
Acoustic zoning isn’t about installing a professional‑grade soundproof studio; it’s about intentionally shaping the soundscape so that each functional zone in your home has the right amount of “listen‑ability.” This concept parallels the way we rewire our home’s atmosphere for mood and energy, but instead of focusing on light and scent, we focus on the way sound behaves.
Step 1: Map Your Acoustic Zones
Start by walking through your home with a notebook and a simple sound‑level meter app (many free options exist). Record three things for each room:
- Primary activity: Is this a place for work, relaxation, entertainment, or a mix?
- Noise sources: Identify both internal (appliances, HVAC) and external (traffic, neighbors) contributors.
- Current acoustic issues: Echoes, muffled speech, sudden spikes, or a constant background hum.
After you’ve charted the data, you’ll likely see patterns. For example, a home office that shares a wall with the laundry room will suffer from “mechanical bleed,” while a bedroom next to a busy street may be plagued by low‑frequency rumble.
Step 2: Prioritize Zones Based on Lifestyle
Not every room needs the same level of acoustic attention. Rank each zone by how critical silence or controlled sound is to your daily routine. Typical priorities look like this:
- Work/Study areas: Need minimal background noise for concentration.
- Sleep environments: Require low‑frequency dampening to promote restorative rest.
- Relaxation spaces (reading nooks, meditation corners): Benefit from gentle ambient sound, not harsh reverberation.
- Social zones (kitchen, living room): Can tolerate a lively soundscape, but should avoid echo that makes conversation difficult.
By assigning a priority, you can allocate budget and effort where it matters most, ensuring the biggest impact with the smallest investment.
Step 3: Low‑Cost Acoustic Treatments You Can DIY
Professional acoustic panels are pricey, but everyday objects can serve the same function when placed strategically.
- Soft furnishings: Thick curtains, plush sofas, and area rugs act as natural absorbers. Swap thin blinds for heavy drapes in the bedroom to cut down on street noise.
- Bookshelves and filled books: A fully stocked bookshelf against a shared wall can diffuse sound waves, similar to how the creative potential of your home can be unlocked by thoughtful placement of objects.
- Acoustic panels made from recycled denim or cork: These are inexpensive, eco‑friendly, and can be cut to size. Mount them on the wall opposite a noisy appliance to reduce echo.
- Rugs and floor mats: Even a modest 4 × 6 ft rug can absorb footfall and lower reverberation in a hard‑floored office.
- Door sweeps and weatherstripping: Seal gaps around doors and windows to block low‑frequency infiltration from the street or hallway.
Step 4: Smart Tech for Dynamic Noise Management
If you enjoy a touch of technology, there are a handful of smart devices that can augment your acoustic plan without turning your home into a lab.
- White‑noise generators: Small Bluetooth speakers can emit a soothing background hum that masks intrusive sounds. Choose models with adjustable frequency ranges to tailor the masking effect.
- Smart thermostats with silent modes: Some HVAC systems emit a low‑level whine when ramping up. A thermostat that gradually phases the fan on can reduce that sudden spike.
- Voice‑controlled sound panels: Emerging products let you control the absorption coefficient via an app, letting you “open” or “close” acoustic panels based on time of day.
These tools don’t replace structural solutions but provide a flexible layer you can adjust as your schedule changes—quiet for a morning work session, more ambient for an evening dinner party.
Step 5: Integrate Acoustic Zoning With Interior Design
Acoustic improvements should complement, not clash with, your aesthetic vision. Here are three design‑friendly tactics:
- Color‑coded zones: Use a subtle hue palette to differentiate acoustic areas. A calming blue in the study signals quiet, while a warm amber in the living room invites conversation.
- Layered textures: Mix wood, metal, and textiles to create both visual interest and varied sound absorption. A wooden desk paired with a plush rug balances reflective and absorptive surfaces.
- Functional art: Hang canvas prints on walls that also serve as acoustic panels. This merges decor with performance, turning a necessity into a conversation starter.
Step 6: Test, Tweak, and Celebrate
After implementing changes, return to your sound‑level meter app and note the differences. You might discover that a rug you added in the bedroom has reduced low‑frequency rumble by 4 dB, or that a bookshelf now cuts kitchen chatter in half. Small improvements compound; over weeks they transform the acoustic character of your entire home.
Finally, take a moment to enjoy the results. Sit in your newly quiet office, sip coffee while the outside world fades into a gentle hush. Notice how your focus sharpens, how your conversations in the living room become clearer, and how bedtime feels more restorative. That’s the quiet power of acoustic zoning.
Beyond Sound: A Holistic Home Upgrade
Acoustic zoning works hand‑in‑hand with other home‑optimization strategies. When you’ve already reimagined outdoor spaces for flexibility, you can extend the same modular thinking indoors—creating movable acoustic panels that slide with a track system, allowing you to reconfigure zones on the fly. Think of your home as a living organism that adapts to your needs, not a static set of rooms.
In the end, the goal isn’t to create a museum of silence, but a dynamic environment where sound supports your intentions. By listening to the language of your walls, you unlock a new layer of comfort and productivity that most homeowners overlook.

Robert Mathews is a professional content marketer and freelancer for many SEO agencies. In his spare time he likes to play video games, get outdoors and enjoy time with his family and friends .
Related Posts

Modular Home Zones: Crafting Flexible Spaces for Everyday Life
Discover practical strategies for turning any open‑plan house into a series of adaptable zones, us... Read More

Redefining Your Front Door: Transform the Entryway Into a Calm Launchpad
A thoughtful entryway can set the tone for your entire home. Learn how to declutter, add subtle ligh... Read More

Bring the Outdoors In: A Guide to Biophilic Home Design
Discover how to infuse natural light, air‑purifying plants, organic textures, and soothing soundsc... Read More
Top Posts

Designing Micro‑Escapes: How Tiny Trips Can Recharge Your Creative Engine
Micro‑escapes, brief trips close to home, can deliver the same cognitive lift as long vacations. Learn a structured sprint‑style framework, tech‑enabled p...Read More

From Soil to Spreadsheet: Rose DesRochers' Blueprint for the Green Employment Revolution
Rose DesRochers shares her journey from garden desk to corporate success, revealing how green workspaces boost productivity, wellbeing, and sustainability in to...Read More

How Everyday Posture Shapes Your Immune Health
Learn why the way you sit, stand, and move matters for your immune system, and get actionable steps to improve posture for lasting health benefits....Read More

Urban Forest Bathing: Reclaiming Calm in the Concrete Jungle
Learn how to weave the calming benefits of forest bathing into a hectic urban schedule with simple daily micro‑sessions, sensory techniques, and easy-to‑imp...Read More
0 Comments
Post Comment
You will need to Login or Register to comment on this post!