
Balcony Bounty: A Guide to Year‑Round Container Harvests
Living in a city doesn’t have to mean saying goodbye to fresh herbs, crisp lettuce, or the simple joy of watching a seedling push through soil. My balcony, once a mere storage shelf for shoes and a few wilted potted succulents, has become my personal green oasis. In this post I’ll walk you through the exact steps, tools, and mindset needed to transform any modest outdoor nook into a productive, beautiful, and sustainable harvest space that feeds the soul as much as it feeds the plate.
Why a Balcony Garden? The Hidden Benefits You Might Not Expect
Most people think of balcony gardening as a novelty—a handful of basil in a saucer or a few cherry tomatoes. Yet the advantages go far deeper:
- Microclimate mastery: By selecting the right containers and positioning, you can create micro‑environments that protect delicate crops from wind, heat spikes, or sudden frosts.
- Reduced food miles: Fresh herbs plucked minutes before dinner cut out the carbon cost of supermarket trips.
- Therapeutic ritual: The act of planting, watering, and pruning provides a tactile form of mindfulness that eases the mental clutter of urban life.
- Design statement: A thoughtfully arranged balcony can double as a visual focal point, adding texture, colour, and seasonal interest to the building façade.
These benefits are why I’m convinced that every balcony, no matter how narrow, deserves a second look. The secret lies in smart planning, which is precisely what we’ll explore next.
Step 1: Assess Your Space and Light Patterns
Before you rush out to buy a dozen pots, spend a weekend observing your balcony’s sun exposure. Use a simple notebook or a phone app to note the hours of direct sunlight, dappled shade, and full shade across each quadrant. Remember:
- Full sun (6+ hours) is ideal for fruiting vegetables like peppers, eggplants, and dwarf tomatoes.
- Partial sun (3‑6 hours) suits leafy greens, herbs, and many root crops.
- Shade (under 3 hours) is perfect for shade‑loving greens such as spinach, arugula, and certain varieties of kale.
Mapping light helps you place each plant where it will thrive, rather than where it merely survives. If you discover that the western side receives the harshest afternoon glare, consider adding a lightweight shade cloth or an acoustic screen that doubles as a sun diffuser.
Step 2: Choose the Right Containers—Form Meets Function
Containers are the heart of balcony gardening. Here are three criteria to guide your selection:
- Size and depth: Root‑vegetables need deeper pots (12‑18 inches), while herbs can thrive in shallower trays (4‑6 inches).
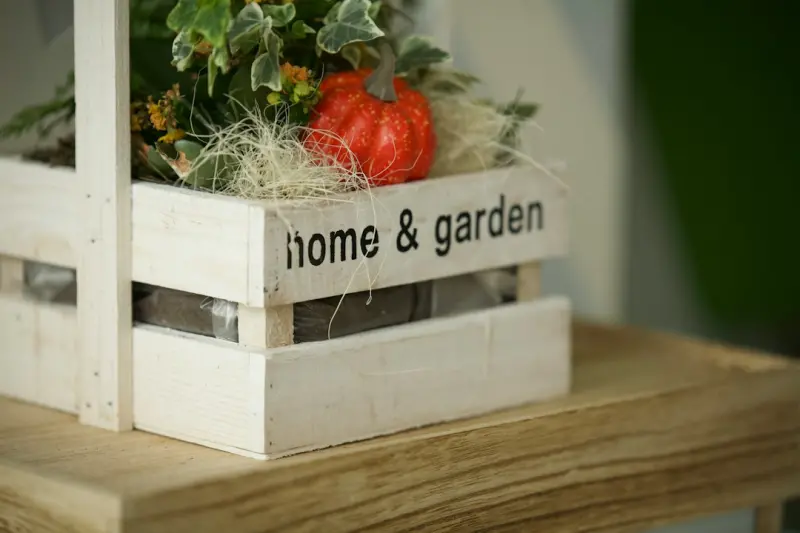
- Material: Terracotta breathes but can crack in freeze‑thaw cycles; recycled plastics are lightweight and weather‑resistant; wooden crates, especially when lined with a food‑safe liner, add rustic charm.
- Drainage: Every container must have drainage holes. If you love the look of decorative cachepots, place a perforated inner pot inside to ensure water can escape.
My favourite hack is to repurpose old wooden pallets into vertical planters. By attaching a simple frame of reclaimed lumber and drilling a row of holes, you create a tiered garden that maximizes vertical space. This upcycling approach not only reduces waste but also gives the balcony a cohesive, handcrafted aesthetic.
Step 3: Soil—The Unsung Hero
While the recent post on regenerative gardening highlights soil health on a larger scale, a balcony garden requires a tailored, lightweight mix that stays aerated yet retains moisture. A good recipe is:
- 40% peat or coco coir (for moisture retention)
- 30% compost (for nutrients)
- 30% perlite or vermiculite (for drainage and aeration)
If you’re eco‑conscious, you can replace peat with responsibly sourced coconut coir, and use homemade compost made from kitchen scraps. Adding a slow‑release organic fertilizer at planting time gives seedlings a nutrient boost without the need for frequent feeding.
Step 4: Plant Selection—Choosing Crops for Continuous Harvest
The key to a year‑round balcony garden is staggering plantings and selecting varieties that mature quickly. Here’s a starter list:
| Crop | Ideal Container | Harvest Window |
|---|---|---|
| Basil (Genovese) | 5‑inch pot | 60‑70 days, continual clipping |
| Leafy Lettuce (Buttercrunch) | 8‑inch wide, shallow | 30‑45 days, multiple cut‑and‑come‑again |
| Radish (Cherry Belle) | 6‑inch deep | 22‑30 days, fast turnover |
| Cherry Tomato (Patio) | 12‑inch deep, with staking | 70‑80 days, continuous harvest |
| Herb Mix (Parsley, Chives, Dill) | Multi‑compartment tray | 90+ days, perennial in mild climates |
Plant a new batch of fast‑growing greens every two weeks. This “succession planting” method ensures you never run out of fresh salad material, even in cooler months when you can move pots into a sunny indoor window.
Step 5: Watering Wisdom—Smart Techniques to Save Time
Balcony plants often suffer from rapid drying because wind and sun accelerate evaporation. Here are three strategies to keep moisture consistent without overwatering:
- Self‑watering containers: These feature a reservoir that feeds the soil via capillary action, providing a steady supply of water.
- Mulching: A thin layer of shredded bark or coconut husk on top of the soil reduces surface evaporation and keeps roots cool.
- Drip irrigation kits: Simple, battery‑powered drip systems can be programmed to deliver a set volume of water each morning, freeing you from daily hand‑watering.
If you’re a tech enthusiast, pairing a drip kit with a small solar‑powered timer adds a sustainable touch that aligns perfectly with the AI‑enhanced garden monitoring trend, allowing you to receive moisture alerts on your phone.
Step 6: Light Augmentation—Extending the Growing Season
When daylight hours dip, supplemental lighting can keep your balcony garden productive. LED grow lights are energy‑efficient and produce the specific spectrum plants need. Position a compact, waterproof LED panel on the balcony railing, set on a timer that mimics natural sunrise and sunset patterns. This is especially valuable for fruiting plants that require 12‑14 hours of light to set fruit.
For those who love a low‑tech approach, reflective Mylar sheets placed behind plants can bounce stray sunlight back onto foliage, boosting photosynthesis without electricity.
Step 7: Pest Management—Keeping It Organic and Low‑Maintenance
Balcony gardens can attract aphids, spider mites, and occasionally larger insects. A few simple, organic tactics keep problems at bay:
- Companion planting: Marigolds repel nematodes; basil deters flies. Intermix these with your edible crops.
- Neem oil spray: Diluted neem oil applied weekly controls soft‑bodied insects without harming beneficial pollinators.
- Physical barriers: Fine mesh netting draped over vulnerable plants prevents birds and larger insects from feasting.
Remember, a healthy plant is the best defense. Regular feeding, proper spacing, and adequate airflow reduce stress, making your crops less attractive to pests.
Step 8: Seasonal Transitions—From Summer Heat to Winter Chill
Transitioning your balcony garden through the seasons is a dance of timing and protection. Here’s my go‑to checklist:
- Late Summer: Begin sowing cool‑season greens like kale and mustard. These will thrive as temperatures dip.
- Early Autumn: Add a layer of straw or burlap over pots to insulate roots against early frosts.
- Mid‑Winter: Move container vegetables indoors to a bright windowsill or grow‑light zone. Use portable trays that can be stored under the bed when not in use.
- Early Spring: Clean and refresh soil, prune dead foliage, and re‑introduce sun‑loving varieties.
By treating the balcony as an extension of your indoor living space, you can keep the garden active year‑round, turning “off‑season” into an opportunity for indoor herb drying or seed saving.
Step 9: Harvesting and Using Your Produce
The moment of reward arrives when you snip fresh basil into a pesto or pull a crisp lettuce leaf for a salad. Here are a few ideas to make the most of your balcony bounty:
- Pesto & Sauces: Blend basil, garlic, pine nuts, and olive oil for a quick, garden‑fresh sauce.
- Herb‑Infused Water: Add mint or rosemary to a pitcher for a refreshing drink.
- Pickling: Small batches of cucumbers or radishes make delightful, tangy snacks.
- Compost Loop: Toss kitchen scraps into a compact balcony compost bin; after a few weeks, the nutrient‑rich humus can be mixed back into your potting mix.
These uses not only extend the life of your harvest but also reinforce the sustainable cycle that began with a single seed.
Step 10: Aesthetic Touches—Turning Function Into Art
Beyond productivity, a balcony garden should feel like a curated gallery. Consider these styling tips:
- Color coordination: Choose pots in complementary hues—soft greys for a modern look, terracotta for a Mediterranean vibe.
- Layered heights: Use stands, hanging baskets, and railing planters to create depth.
- Seasonal décor: Swap in small lanterns for winter evenings, or add a few wind chimes for auditory charm.
When you blend utility with visual appeal, the balcony becomes a personal sanctuary—a place you look forward to spending time in, even when you’re not tending to plants.
Final Thoughts: Embrace the Balcony Revolution
Turning a modest balcony into a year‑round harvest hub is less about having a sprawling yard and more about mindset, clever design, and a willingness to experiment. By assessing light, selecting smart containers, using balanced soil, and incorporating sustainable practices, you create a resilient micro‑ecosystem that feeds you, your family, and even the building’s aesthetic.
Give yourself permission to start small—maybe a single herb pot—and let curiosity guide you toward larger, more ambitious projects. Over time, you’ll discover that the balcony, once a forgotten shelf of shoes, can become the heart of your home’s culinary and wellness rhythm.

When it comes to the world of blogging and writing, Rose DesRochers is a name that stands out. Her passion for creating quality content and connecting with her audience has made her a trusted voice in the industry. Aside from her skills as a writer and blogger, Rose is also known for her compassionate nature.
Related Posts
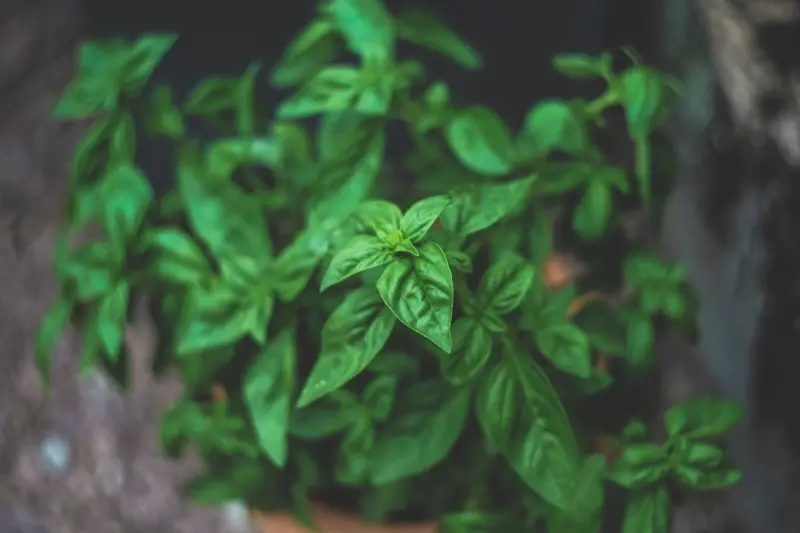
Cultivating a Kitchen Herb Oasis: Fresh Flavors and Everyday Calm
Learn step‑by‑step how to turn your kitchen into a thriving herb oasis, from selecting the right... Read More
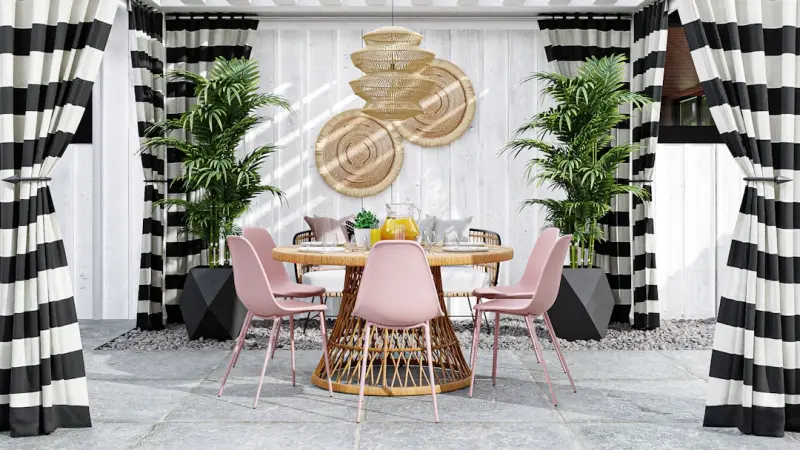
Designing a Year‑Round Outdoor Living Room: Comfort, Style, and Sustainability
Transform your backyard into a year‑round living room with strategic zoning, durable furnishings, ... Read More
Smart Garden Revolution: How Tech Is Transforming Home Outdoor Spaces
Explore the latest garden tech—from soil sensors to smart lighting—and learn practical steps to ... Read More
Top Posts

How My Garden Desk Became the Heart of My Home & Garden
I turned my backyard into a vibrant workspace, merging nature with productivity. Learn how a garden desk can revitalize your home, nurture creativity, and enhan...Read More

Biophilic Personal Care: Nature‑Inspired Grooming for the Modern Professional
Discover how integrating natural elements, microbiome‑friendly formulas, and smart lighting into daily grooming can boost focus, skin health, and overall well...Read More
Designing a Garden Soundscape: How to Turn Your Backyard into an Auditory Sanctuary
Discover how to design a backyard soundscape using natural elements, smart tech, and seasonal tweaks, turning your garden into a soothing auditory sanctuary....Read More

Beyond the Tourist Trail: Crafting Meaningful Journeys Through Unseen Cities
Discover a fresh approach to travel that priorit on cultural immersion, authentic connections, and ethical impact, turning every trip into a meaningful journey....Read More
0 Comments
Post Comment
You will need to Login or Register to comment on this post!