

When I first moved into my cramped third‑floor walk‑up, the only thing I could see was the dim glow of a single overhead bulb fighting a losing battle against a sea of clutter. I realized then that good lighting isn’t just about illumination—it’s the silent architect of mood, focus, and even the way we interact with our spaces. Over the past few months I’ve turned my home into a light‑crafted sanctuary, and I’m sharing the playbook so you can do the same without breaking the bank or your sanity.
Why Light Matters More Than You Think
Most home‑improvement guides tell you to paint walls, buy a new couch, or install a smart thermostat. Those are all great, but they miss the subtle, science‑backed impact of light on our brains. Natural sunlight triggers the release of serotonin, boosting mood and helping us stay alert. Blue‑rich LED light in the morning can reset your circadian rhythm, while warmer tones in the evening cue your body to wind down.
In short, light is the most direct line of communication between your home and your nervous system. When you get it right, you’ll notice sharper focus during work‑from‑home sessions, a more relaxed vibe for family dinners, and a bedroom that actually feels like a retreat.
Step 1: Audit Your Existing Light Sources
Grab a notebook (or the digital declutter app you love) and walk through each room. For each fixture, note:
- Location – Is the light central, peripheral, or missing entirely?
- Intensity – Does it feel harsh, dim, or just right?
- Color Temperature – Measured in Kelvin: 2700K (warm) to 6500K (daylight).
This audit will reveal the gaps you didn’t even know existed. You might be surprised to find that your kitchen’s ceiling light is a harsh 5000K LED that makes cooking feel like a lab experiment, while your living room relies on a single 2700K lamp that barely cuts through the evening gloom.
Step 2: Maximize Natural Light
Before you buy any bulbs, let the sun do the heavy lifting. Here are my go‑to tricks:
- Sheer Curtains – Replace blackout drapes with lightweight linen. They filter harsh UV while still letting daylight in.
- Strategic Mirrors – A large mirror opposite a window can bounce light deeper into a room, creating the illusion of space.
- Trim Tree Branches – If you have a balcony or a front porch, keep foliage trimmed to prevent shadows from blocking your windows.
Even a modest increase in daylight can reduce the need for artificial lighting by up to 30%, cutting energy costs and giving your skin a healthy dose of Vitamin D (yes, that’s a thing).
Step 3: Layer Your Light Like a Pro
Good lighting is all about layers: ambient, task, and accent. Think of it as a three‑piece outfit—each component has a purpose, and together they create a cohesive look.
- Ambient Light – This is the base layer. Use ceiling fixtures, recessed lights, or a central pendant to provide an even wash of light. Aim for a color temperature around 3000K–3500K for a neutral, comfortable glow.
- Task Light – This is the focused beam for activities like reading, cooking, or working. Desk lamps with adjustable arms and LED bulbs in the 4000K–5000K range are ideal for reducing eye strain.
- Accent Light – Use these to highlight artwork, plants, or architectural features. Small track lights, LED strips, or even battery‑powered puck lights add depth and drama.
By mixing these layers, you avoid the “one‑size‑fits‑all” lighting trap and give each room a purpose‑driven illumination plan.
Step 4: Smart Controls for Seamless Transitions
If you’ve ever fumbled with a switch in the dark, you know the frustration of a poorly timed light change. Smart lighting bridges that gap. I installed a basic Zigbee hub and a handful of Wi‑Fi bulbs, and the transformation was immediate:
- Schedule – Program lights to mimic sunrise at 7 am and dim to 200 lumens at 10 pm, nudging your body’s natural rhythm.
- Motion Sensors – In hallways and bathrooms, lights turn on when you enter and fade out after a minute of inactivity. No more stumbling in the dark.
- Voice Integration – A quick “Hey Siri, set the living room to cozy” instantly shifts the temperature to 2700K and dims to 30%.
Don’t worry if you’re not a tech guru; many plug‑and‑play options require no wiring and can be controlled via a simple app.
Step 5: Energy Efficiency Without Compromise
LEDs have become the default for good reason: they use up to 80% less electricity than incandescent bulbs and last 25+ times longer. When selecting replacements, look for the lumens rating (brightness) rather than watts (energy use). For instance, a 10‑watt LED can produce the same light output as a 60‑watt incandescent.
Also, consider dim‑mable LEDs. They give you flexibility to lower intensity at night, which saves energy and protects your circadian rhythm. Pair them with a smart dimmer switch for the ultimate control.
Step 6: Tailor Light to Each Room’s Function
Every room has a primary purpose, and your lighting strategy should reflect that:
Kitchen
Bright, cool light (4000K–5000K) is best over countertops and the stove. Install under‑cabinet LED strips to eliminate shadows while chopping veggies.
Living Room
Mix warm ambient lighting (2700K) with adjustable task lamps for reading nooks. Add accent lighting to showcase shelves or a gallery wall.
Home Office
Combine natural daylight with a 4000K desk lamp. If natural light is limited, consider a full‑spectrum LED panel that mimics daylight—this reduces eye strain and boosts productivity.
Bedroom
Opt for warm, low‑intensity lighting (2200K–2700K). Smart bulbs that gradually dim can act as a “digital sunset,” signaling your brain that it’s time to unwind.
Bathroom
Bright, white light (3500K–4000K) is essential for grooming. Pair a vanity light with a dimmable overhead fixture for a spa‑like feel during baths.
Step 7: Add a Touch of Personality
Lighting can also be a decorative element. I love incorporating vintage filament bulbs in pendant fixtures for a retro vibe, or using colored LED strips behind a TV to reduce eye strain during late‑night binges. The key is to keep the overall palette cohesive—choose one or two finishes (brushed nickel, matte black, brass) and repeat them throughout the home.
Step 8: Maintain and Refresh
Even the best lighting systems need upkeep. Every six months, dust fixtures and replace any dim or flickering bulbs. If you notice a noticeable shift in color temperature (e.g., a warm bulb turning yellowish), it’s a sign the LED is aging and should be swapped out.
Regularly revisit your lighting schedule as seasons change. In summer, you might want to reduce artificial light earlier to capitalize on longer daylight hours; in winter, you may need a gentle boost of warm light to combat the gloom.
Bonus: Integrating Light With Other Home Hacks
While lighting is a powerhouse on its own, it works beautifully alongside other home‑optimizing habits. For instance, pair a personal knowledge concierge that suggests the perfect reading light level based on the book genre you’re diving into, or use a digital declutter routine to keep your smart‑lighting app organized and free of redundant scenes.
Remember, the goal isn’t a sterile, overly engineered house—it’s a living, breathing environment that supports your well‑being, productivity, and joy.
Final Thoughts: Light As Your Home’s Quiet Ally
Lighting is often the unsung hero of home design. It doesn’t demand a bold statement like a statement sofa or a bold wallpaper, yet its influence is profound. By auditing, layering, and automating your light, you’ll create a space that feels intentional, energizing, and comforting—all without a massive renovation budget.
If you’ve been stuck in the gloom or wrestling with harsh fluorescents, take the first step today: open your curtains, swap out a single bulb, and watch how the mood of the room shifts. The ripple effect will surprise you, and soon you’ll be the go‑to person among friends for all things bright and beautiful.

Seth Samual is a name that's quickly becoming synonymous with compelling and insightful writing. As a freelance writer, Seth has carved a niche for himself by delivering high-quality content across a diverse range of subjects.
Related Posts

Transform Your Entryway into a Curated Gallery That Welcomes and Inspires
A step‑by‑step guide shows how to declutter, zone, light, and decorate your entryway like a mini... Read More
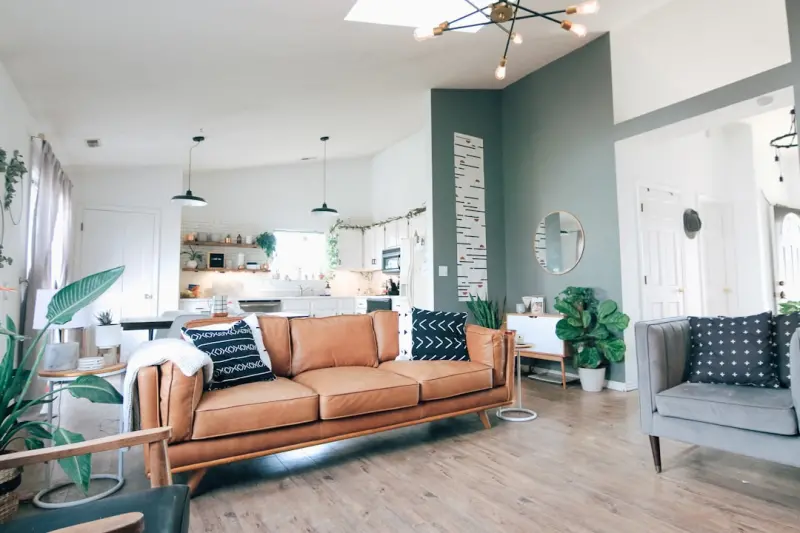
Quiet Corners: Mastering Acoustic Comfort in Open‑Plan Homes
Learn how to turn noisy open‑plan spaces into serene retreats using soft furnishings, DIY acoustic... Read More
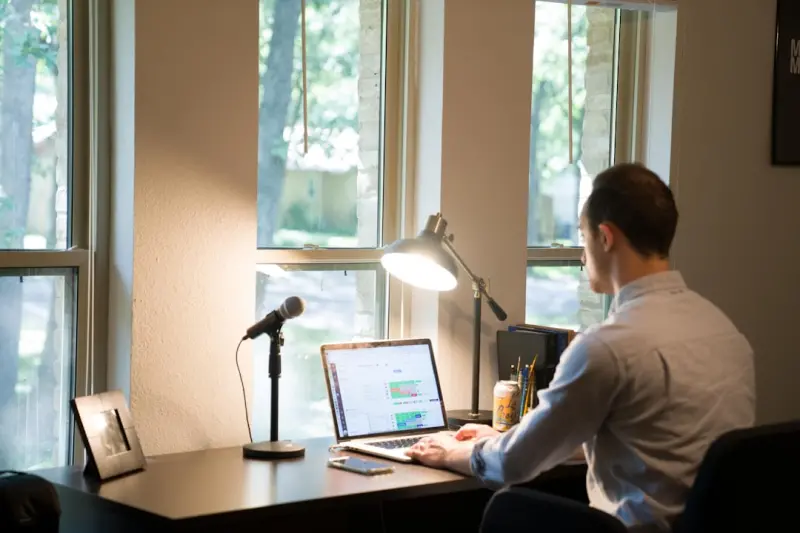
Turn Your Home Into a Productivity Powerhouse Without Adding Square Footage
A practical guide to transforming everyday spaces—like entryways, kitchens, and micro‑zones—in... Read More
Top Posts

Reimagining Performance Reviews for Hybrid Teams: A Growth‑First Playbook
Traditional annual reviews are failing in hybrid work environments. This post introduces a four‑pillar, growth‑first framework—continuous dialogue, streng...Read More

Seasonal Skincare Strategies: Adapting Your Personal Care Routine to Nature’s Rhythms
Learn to adapt your personal care routine to nature’s cycles, using a modular toolkit, microbiome‑friendly products, and mindful rituals for resilient, radi...Read More

Nano‑Rituals: Quick Personal Care Hacks for the Modern Desk‑Jockey
Learn five sub‑five‑minute personal‑care tricks—cool‑splash, micro‑massage, scent‑shift, hand hydration, and posture‑reset—that recharge your ...Read More

Turning Layovers Into Mini‑Adventures: A New Travel Playbook
Learn to transform ordinary layovers into intentional mini‑adventures that sharpen adaptability, deepen sensory experiences, and enrich every journey....Read More
0 Comments
Post Comment
You will need to Login or Register to comment on this post!