

Why Your Home Needs a Sound Makeover (And How to Do It on a Budget)
When I first moved into my downtown loft, the biggest surprise wasn’t the exposed brick or the industrial vibe—it was the soundtrack of the city that seeped through the walls. Horns honked, elevators pinged, and the neighbor’s late‑night karaoke sessions turned my living room into a live‑concert arena. I quickly realized that a home isn’t just about how it looks; it’s about how it sounds. A quiet, acoustically‑tuned space can boost focus, lower stress, and even improve sleep. Below is my step‑by‑step playbook for turning any room into a hush‑friendly haven without breaking the bank.
1. Diagnose the Noise Sources (Your Home’s “Sound Map”)
Before you grab a hammer, you need a clear picture of where the noise is coming from. Walk through each room with a smartphone recorder or a simple voice‑memo app. Play it back and note the following:
- External intrusions: traffic, subway, construction, or nearby cafés.
- Internal chatter: HVAC hum, refrigerator cycles, plumbing clanks.
- Reflection hotspots: Bare walls, glass doors, and large windows that bounce sound around.
Mark these spots on a floor plan. This “sound map” will guide where you invest your time and money.
2. Seal the Gaps—A Simple First Line of Defense
Many of us underestimate how much sound slips through tiny cracks. Here’s what I did:
- Weather‑strip doors and windows: Foam tape or rubber gaskets cost pennies per foot and block a surprising amount of street noise.
- Seal outlet boxes: Electrical boxes are often overlooked. A quick spray of acoustic sealant can mute the whine from the walls.
- Use door sweeps: The gap under interior doors can be a conduit for hallway chatter. A fabric‑covered sweep is both functional and decorative.
These fixes are quick, non‑invasive, and set the stage for more advanced acoustic treatments.
3. Add Soft Surfaces—Your New Best Friends
Hard surfaces reflect sound; soft surfaces absorb it. I turned this principle into a design opportunity:
- Rugs and runners: A thick wool rug under a coffee table cuts footfall noise dramatically. Choose patterns that complement your décor.
- Heavy curtains: Floor‑to‑ceiling drapes not only block light but also dampen outside noise. Look for fabrics with a dense weave.
- Upholstered furniture: A plush sofa or an overstuffed armchair becomes a sound‑absorbing ally.
If you’re short on budget, consider space‑saving ideas that double as acoustic panels—like a wall‑mounted bookshelf filled with books and decorative baskets.
4. DIY Acoustic Panels: Style Meets Function
Commercial acoustic panels can run $50‑$150 each, but you can DIY for a fraction of the cost while adding personality:
- Gather materials: 1‑inch thick rigid foam board, breathable fabric, and a staple gun.
- Cut the foam to your desired dimensions (12×12 inches works well).
- Wrap in fabric and staple the back, creating a clean finish.
- Mount on walls where reflections are strongest—typically opposite windows or across from a TV.
For a cohesive look, choose fabrics that echo your existing color palette. The result? A room that looks curated and feels quieter.
5. Harness the Power of Plants (They’re Not Just for Aesthetics)
Large leafy plants act as natural sound absorbers. Their broad leaves break up sound waves, and the soil adds mass that dampens vibrations. I placed a tall ficus in the corner opposite my balcony door, and the rustle of wind outside became a gentle background hum instead of a disruptive roar.
6. Upgrade Your Lighting—A Subtle Acoustic Boost
Believe it or not, the type of lighting you use can influence how sound travels. Harsh LED strips create a crisp, reflective environment that can amplify echo. Soft, diffused lighting—think warm LED bulbs behind a frosted glass shade—helps create a more absorptive atmosphere. If you’re looking for lighting hacks that also improve acoustic comfort, try these:
- Layered lighting: Combine floor lamps, table lamps, and wall sconces to break up direct light paths.
- Use dimmers: Lowering light intensity reduces glare, which indirectly reduces the need for hard, reflective surfaces.
- Install indirect LED strips behind crown molding or under cabinets—these soften both light and sound.
7. Smart Home Integration for Quiet Living
If you’re already dabbling with home automation, you can extend those benefits to acoustic comfort. A smart thermostat can schedule HVAC cycles during quieter times of day, minimizing the whir of the system when you’re working or sleeping. Additionally, smart plugs can automate white‑noise machines or Bluetooth speakers that emit soothing ambient sounds during peak noise periods.
8. Create a “Quiet Zone” for Focused Work
Designating a specific area as your “quiet zone” helps train your brain to associate that space with concentration. Here’s how I set mine up:
- Choose a low‑traffic corner away from the kitchen and entryway.
- Equip it with a sturdy desk and an ergonomic chair—comfort reduces the urge to fidget.
- Add a portable acoustic panel (the DIY kind from step 4) on the wall behind you.
- Introduce a small water fountain for gentle, masking sound.
When you step into this zone, turn off notifications, close the door, and let the acoustic treatments do the rest.
9. Maintenance: Keep Your Acoustic Shield Intact
Acoustic improvements, like any home upgrade, need periodic checks:
- Inspect weather‑stripping for wear and replace every 6‑12 months.
- Vacuum fabric panels to prevent dust buildup, which can reduce absorption efficiency.
- Rotate plants to ensure even growth and consistent sound coverage.
A quick quarterly review will keep your home’s soundscape fresh and functional.
10. The Payoff: What You’ll Notice
After a few weeks of these tweaks, I experienced a subtle but profound shift:
- Improved focus during work‑from‑home sessions—background chatter no longer hijacked my concentration.
- Better sleep quality—the night‑time street noise was muffled enough to let me drift off without earplugs.
- Higher overall comfort—the combination of soft textures, plants, and balanced lighting made the space feel more inviting.
If you’ve ever wished for a “mute” button for your home, these steps are the next best thing. They’re affordable, customizable, and—most importantly—do not require a full‑blown renovation.
So go ahead, map your sound, seal those gaps, and let your home finally speak the language you want to hear: quiet, calm, and purposeful.

Seth Samual is a name that's quickly becoming synonymous with compelling and insightful writing. As a freelance writer, Seth has carved a niche for himself by delivering high-quality content across a diverse range of subjects.
Related Posts

Smart Lighting Hacks to Boost Home Mood and Focus
Learn how to use layered lighting, smart bulbs, strategic furniture flow, and simple acoustic upgrad... Read More
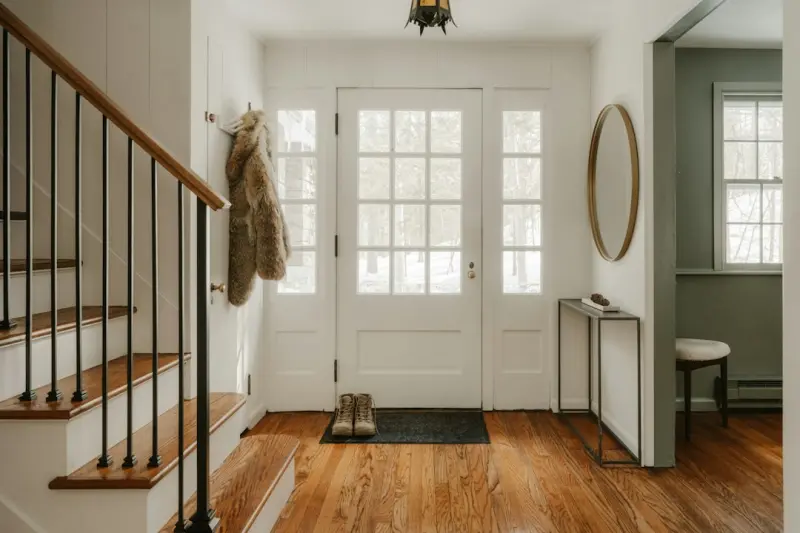
Revitalizing Your Home Entryway: Small Changes, Big Impact
A step‑by‑step guide to turning your front hallway into a functional, mood‑boosting sanctuaryâ... Read More

Breathe Easy at Home: DIY Natural Air Purifiers That Transform Your Space
Learn how to create natural, budget‑friendly air purifiers using houseplants and fabric filters, w... Read More
Top Posts

The Night Train Advantage: Journeying Beyond Destination
Explore the magic of night trains—slow, sustainable travel that transforms the journey into the destination, offering deeper connections, culinary delights, a...Read More

Travel as a Personal Data Experiment: Turning Trips into Insightful Labs
By treating each journey as a living laboratory, the author shares a data‑centric approach to travel, revealing how metrics, reflection, and mindful observati...Read More

Rethinking Personal Care: A Sustainable, Zero‑Waste Bathroom Revolution
Explore practical, stylish ways to adopt a zero‑waste bathroom, from reusable containers to plant‑powered toiletries, and learn how sustainable personal car...Read More

Designing a Home Workspace That Grows With You
Discover practical strategies for building a flexible home workspace—zone planning, modular furniture, smart lighting, and simple air quality hacks—that evo...Read More
0 Comments
Post Comment
You will need to Login or Register to comment on this post!