
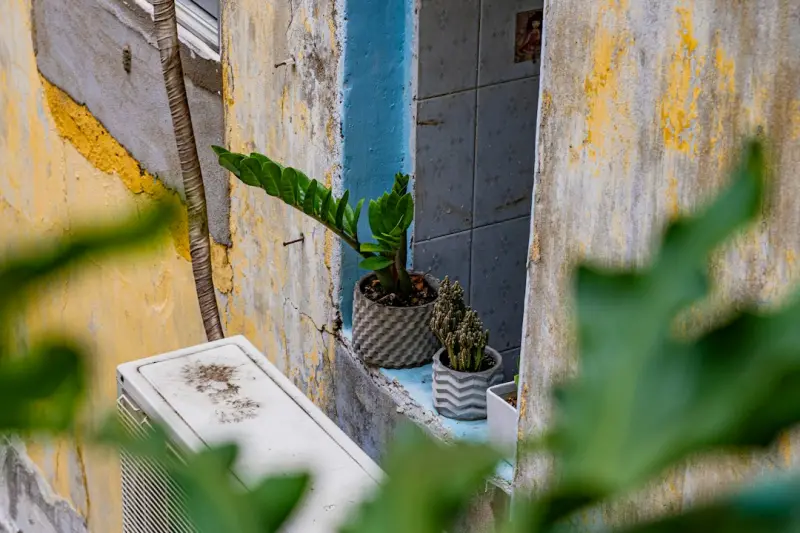
Vertical Oasis: Transforming Small Balconies into Thriving Gardens
When I first moved into a city loft with a tiny balcony, I thought I’d have to resign myself to a life of wilted herbs and a single, sad‑looking succulent. Fast forward a few months, and that modest slab of concrete has become a vertical oasis—a lush, layered habitat that not only feeds my culinary cravings but also quiets the mental chatter of a hectic workday. In this post I’ll walk you through the practical, budget‑friendly steps I took to turn a cramped balcony into a thriving vertical garden, sprinkling in a few tiny power moves along the way.
Why Go Vertical?
Space is the scarcest commodity in most urban dwellings. Traditional garden beds simply won’t fit, and floor‑level containers can quickly become a tripping hazard. Vertical gardening solves both problems by:
- Maximizing square footage: A 1‑meter wall can hold as many plants as a 4‑meter garden plot.
- Improving airflow: Elevated plants get better circulation, which reduces fungal issues.
- Creating micro‑climates: By stacking sun‑loving herbs beneath shade‑tolerant greens, you get diverse growing conditions in a single footprint.
- Adding visual interest: A living wall transforms a bland balcony into a living piece of art.
But before you rush to the hardware store, let’s talk about the three pillars that underpin a successful vertical garden: structure, soil, and smart watering.
1. Building a Sturdy, Aesthetic Framework
I started with what I already had—an old wooden pallet from a local coffee shop. Repurposing reclaimed wood is a green choice, reduces waste, and adds a rustic charm. Here’s my step‑by‑step:
- Inspect and sand: Look for splinters, loose boards, or rot. A quick sandpaper session smooths rough edges and prepares the surface for a protective seal.
- Apply a weather‑proof finish: I used a low‑VOC, water‑based sealant that won’t leach chemicals into the soil. This also extends the pallet’s life in the sun and rain.
- Attach a backing grid: Using galvanized steel mesh (the kind you’d find at a hardware store for chicken wire), I nailed it to the back of the pallet. This mesh holds the pots while allowing water to drain.
- Mount securely: I bolted the pallet to the balcony rail using stainless‑steel brackets. The key is to ensure the structure can handle the weight of wet soil—roughly 10‑12 kg per cubic foot.
If you don’t have a pallet, consider modular systems like low‑cost smart energy hub kits that double as plant carriers. Many of these come with built‑in cable management, so you can add LED grow lights later without a tangled mess.
2. Choosing the Right Containers
Not every pot fits a vertical setup. I gravitated toward lightweight, self‑watering containers that nestle into the mesh. Here’s why they work:
- Weight management: Plastic or fabric pots are up to 50 % lighter than terra‑cotta, easing the load on the pallet.
- Consistent moisture: Self‑watering reservoirs release water slowly, reducing the risk of over‑watering the lower tiers.
- Modular flexibility: You can slide them in and out for seasonal rotation.
My favorite combo is a 6‑inch fabric pot for herbs like basil and thyme, paired with a 4‑inch terracotta for succulents that like a drier environment. The trick is to group plants with similar water needs together—this prevents a thirsty herb from drowning a drought‑tolerant succulent.
3. Soil Science for Vertical Gardens
Soil depth on a balcony wall is limited, so you need a mix that’s both light and nutrient‑rich. I blend:
- 40 % high‑quality potting compost (for organic matter)
- 30 % perlite (for aeration and drainage)
- 20 % coconut coir (retains moisture without getting soggy)
- 10 % slow‑release organic fertilizer (feeds plants for up to three months)
Before filling each pot, I mist the soil blend with a diluted seaweed extract. Seaweed is a natural source of micronutrients and promotes root development—especially useful when plants are confined to a shallow substrate.
4. Smart Watering Strategies
One of the biggest challenges with vertical gardens is ensuring water reaches the bottom without flooding the top. Here’s the method I swear by:
- Install a drip‑line at the base: A simple ½‑inch tubing runs along the bottom of the pallet, delivering a slow, steady stream.
- Use a timer: Set the drip system to 5‑minute cycles twice a day during hot months, and once a day in cooler seasons.
- Capillary wicking strips: Place thin strips of cotton or nylon between the lower pots and the mesh. They draw water up through capillary action, keeping the bottom tier moist.
Even if you’re not ready for a full‑blown irrigation system, a reusable watering can with a long spout can achieve the same effect—just pour slowly at the top and let gravity do the work.
5. Plant Selection: The Perfect Balcony Cast
Choosing the right plant palette is where creativity meets climate. My balcony experiences full sun for about six hours, with a gentle breeze that can be a double‑edged sword (great for pollination, but can dry out soil fast). I opted for a mix of culinary, ornamental, and air‑purifying plants:
- Herbs: Basil, cilantro, mint, and chives. They love the heat and reward you with fresh flavors for summer salads.
- Leafy greens: Baby kale and arugula thrive in partial shade, so I placed them on the lower, more shaded tier.
- Edible flowers: Nasturtiums add a peppery bite and attract pollinators.
- Air‑purifiers: Spider plant and pothos are low‑maintenance and help scrub indoor air of formaldehyde.
- Compact fruit: Dwarf strawberries nestle nicely in the corners, offering a sweet treat when the season arrives.
Pro tip: Rotate plants every three months to prevent soil fatigue and to keep pests from establishing a foothold.
6. Seasonal Maintenance Checklist
Vertical gardens demand a bit more vigilance than ground‑level beds. Here’s the routine I follow:
- Spring: Clean the pallet, replace any damaged pots, and add a fresh layer of soil mix.
- Summer: Monitor moisture levels daily; increase drip frequency during heatwaves.
- Fall: Prune back woody growth, harvest the last of the herbs, and start transitioning to cooler‑tolerant varieties like kale.
- Winter: If frost is a risk, move potted herbs inside or add a protective fleece cover. The self‑watering reservoirs help prevent root freeze‑dry.
7. Adding Tech Without Overcomplicating
While I love the simplicity of a hand‑watered garden, a sprinkle of technology can boost yields. A Bluetooth‑enabled soil sensor placed in the lowest pot sends moisture alerts straight to your phone. Pair that with a solar‑powered LED grow light that slides into the pallet’s top rail, and you have a low‑maintenance, high‑output system.
These gadgets align nicely with the tiny power moves philosophy—small, inexpensive upgrades that deliver outsized benefits.
8. The Unexpected Benefits of a Vertical Balcony Garden
Beyond fresh produce, I’ve discovered a few delightful side effects:
- Acoustic Buffer: The layers of foliage dampen street noise, creating a quieter retreat for reading or meditation.
- Thermal Insulation: The green wall acts as a barrier, keeping my balcony cooler in summer and slightly warmer in winter.
- Psychological Boost: Watching seedlings push through soil provides a daily reminder of growth, which translates into more focus at work.
- Community Connection: Neighbors now stop by to admire the garden, sparking conversations about composting and seed swapping.
9. Scaling Up: From Balcony to Rooftop
If you love the vertical concept and have access to a larger outdoor space, the same principles apply. The main differences are:
- Higher wind loads—use sturdier frames like metal or pressure‑treated lumber.
- Greater water volume—consider rainwater harvesting barrels connected to your drip system.
- Sun exposure variations—incorporate shade sails for midsummer heat.
Whether you’re limited to a balcony or blessed with a rooftop, the vertical garden framework is adaptable. The key is to start small, learn the moisture rhythm, and let the design evolve organically.
10. Final Thoughts: A Green Habit That Sticks
When I first set up this vertical oasis, I was skeptical that a 2‑square‑meter slice of concrete could make a difference. Today, it’s my morning coffee companion, my dinner ingredient source, and my personal wellness corner. The best part? It required a handful of reclaimed wood, a few lightweight pots, and a sprinkling of low‑cost smart energy hub tricks—nothing that broke the bank.
So, if you’re staring at a balcony that feels more like a parking spot than a sanctuary, consider the vertical garden route. It’s an accessible, rewarding project that brings nature back into the city, one tier at a time. Happy planting!

Jim Pearse, a seasoned freelance writer, brings a wealth of knowledge and passion to the world of home and garden. From the intricacies of landscaping to the nuances of interior design, Jim delves into every aspect of creating comfortable, beautiful, and functional living spaces.
Related Posts

Bringing the Wild Inside: How to Design a Biophilic Home That Feeds the Soul
A guide to transforming any space into a nature‑infused sanctuary, covering light, greenery, tacti... Read More
Seasonal Garden Staging: How to Transform Your Yard Four Times a Year
Discover a step‑by‑step approach to revitalize your outdoor space each season, from planting vib... Read More
Cultivating a Remote‑Work Oasis: How to Turn Your Garden into a Year‑Round Productivity Hub
Jimmy Damon shares expert tips to turn any garden into a productive, cozy home office—covering des... Read More
Top Posts

Skill Badges & Portfolio Careers: The Future of Employment
A deep dive into how skill badges, portfolio careers, and flexible contracts are redefining modern employment, fostering agility, innovation, and stronger emplo...Read More

Curiosity on the Move: Turning Travel Into a Brain‑Boosting Innovation Engine
Discover how to design trips that fire up dopamine, acetylcholine, and norepinephrine, turning every journey into a catalyst for creative problem‑solving and ...Read More

When the Journey Becomes the Destination: Embracing the Slow Train Experience
Step aboard a slow train and let the landscape unfold, turning every mile into a meditation, a story, and a chance to truly feel the pulse of places you pass....Read More

Equity as a Career Compass: Turning Ownership into the Core of Modern Employment
Employee equity has moved from a perk to a strategic career cornerstone. This article examines why equity matters, how to design effective programs, and the cul...Read More
0 Comments
Post Comment
You will need to Login or Register to comment on this post!