

From Seed to Supper: Building a Year‑Round Edible Garden in Your Backyard
When I first moved into my modest suburban home, the garden behind the house was a blank canvas of soil and a few stray dandelions. I’d always loved the idea of cooking with ingredients harvested just steps away, but the thought of juggling a full‑time job, family, and a sprawling vegetable patch felt impossible. Then I realized the secret wasn’t about space or time—it was about designing an edible garden that works with my lifestyle, not against it.
Why an Edible Garden is the Next Home Trend
Urban dwellers are increasingly craving a tangible connection to the food they eat. The pandemic accelerated this desire, but the momentum has continued long after. People are swapping sleek, sterile countertops for the earthy aroma of fresh basil, and they’re swapping grocery lists for garden plans. An edible garden offers:
- Health benefits: Fresh produce packed with nutrients, harvested at peak ripeness.
- Financial savings: A modest garden can cut grocery bills by up to 30%.
- Therapeutic value: Tending to plants reduces stress and promotes mindfulness.
- Environmental impact: Less reliance on transport‑intensive food supply chains.
Step 1: Assess Your Space and Micro‑Climate
Before you buy seed packets, walk the perimeter of your yard and take note of sun exposure, wind patterns, and soil drainage. Most vegetables need at least six hours of direct sunlight. If your garden is shaded, consider shade‑tolerant greens like kale, spinach, and arugula. For windy spots, a simple windbreak—perhaps a row of evergreen shrubs—can protect tender seedlings.
Use a simple soil test kit (available at most garden centers) to gauge pH and nutrient levels. Most vegetables thrive in a pH of 6.0–7.0. If your soil is too acidic, add lime; if it’s too alkaline, incorporate elemental sulfur. A quick amendment now saves you from stunted growth later.
Step 2: Choose the Right Growing Method
Not every backyard can accommodate traditional in‑ground rows. Here are three adaptable approaches:
- Raised beds: Ideal for compact spaces and for improving drainage. Build them from reclaimed cedar or recycled composite boards, then fill with a high‑quality loam‑compost mix.
- Vertical gardening: Perfect for walls, fences, or trellises. Use pocket planters, stacked crates, or even repurposed pallets to grow herbs, strawberries, and vining crops like beans and peas.
- Container gardening: Great for renters or anyone who wants flexibility. Choose wide, shallow containers for root‑shallow herbs, and deeper pots for root‑heavy vegetables like carrots and beets.
Step 3: Plan for Succession Planting
One of the biggest mistakes new gardeners make is planting everything at once and then watching the beds go bare after a single harvest. Succession planting keeps the garden productive all season:
- Start a batch of cool‑season greens (lettuce, radish, spinach) early in spring.
- Two weeks later, sow a second batch of the same crops.
- As the first harvest clears, plant warm‑season veggies (tomatoes, peppers, cucumbers) in the vacated space.
- In late summer, replace the warm‑season crops with fast‑growing fall varieties like kale and broccoli.
This staggered approach ensures you’re always harvesting something, and it reduces the risk of a total crop failure due to a late frost or unexpected heatwave.
Step 4: Embrace Companion Planting
Companion planting isn’t just garden folklore; it’s a scientifically backed method to improve yields, deter pests, and boost soil health. Some classic pairings include:
- Tomatoes + Basil + Marigold: Basil repels whiteflies, while marigolds deter nematodes.
- Carrots + Onions: The onion’s pungent scent masks carrot scent from carrot flies.
- Beans + Corn + Squash (the “Three Sisters”): Beans fix nitrogen, corn offers a trellis, and squash shades the ground to suppress weeds.
When you map these relationships on paper or a garden app, you’ll see that planting diversity is both aesthetically pleasing and functionally powerful.
Step 5: Water Wisely – The Art of Efficient Irrigation
Water waste is a common pitfall. Install a drip irrigation system with a timer. It delivers water directly to the root zone, minimizes evaporation, and can be set to water early in the morning or late evening when the sun is low. Mulching with straw, wood chips, or shredded leaves reduces surface moisture loss and keeps soil temperature steady.
Step 6: Harvest and Store for the Long Term
Harvesting at the right moment maximizes flavor and nutritional content. Most leafy greens are best picked when they’re young and tender; root vegetables should be harvested when they reach mature size but before they become woody. To extend your garden’s bounty:
- Cool storage: Store carrots, beets, and turnips in a root cellar or a cool basement.
- Freezing: Blanch greens like kale and spinach, then freeze them in portioned bags.
- Drying: Hang herbs upside down in a well‑ventilated area or use a dehydrator.
With a little planning, your backyard can feed you through the winter months, reducing trips to the grocery store and keeping your meals vibrant.
Step 7: Involve the Whole Family
Gardening is an excellent way to teach kids about where food comes from and to instill healthy habits early. Assign age‑appropriate tasks: toddlers can water with small watering cans, while pre‑teens can learn to identify pests and practice pruning. Turn planting days into mini‑celebrations—play music, serve fresh‑picked snacks, and document the process with photos. These shared experiences turn the garden into a family legacy.
Step 8: Keep Learning and Adapting
Every season brings new lessons. Join local gardening clubs or online forums to exchange tips. Attend workshops at your community garden. And remember, it’s okay to experiment—some plants will thrive, others won’t, and that’s part of the journey.
Integrating Edible Spaces with Home Aesthetics
One concern many homeowners voice is whether an edible garden will clash with their home’s aesthetic. The answer is a resounding yes, you can design a garden that is both productive and beautiful. Here are three design tricks:
- Color harmony: Choose varieties with complementary colors—purple basil, orange carrots, and deep‑green kale create a vibrant palette.
- Texture contrast: Mix leafy greens with feathery herbs (like dill) and sturdy vegetables (like broccoli) for visual interest.
- Functional décor: Use reclaimed wooden crates as planter boxes, and line pathways with stepping stones that double as mulch borders.
When done thoughtfully, your edible garden becomes a backyard sanctuary that invites both relaxation and culinary adventure.
Technology Meets Tradition
While the heart of an edible garden is soil and sunshine, modern tools can make the process smoother. Simple sensors that monitor soil moisture can send alerts to your phone, ensuring you never over‑ or under‑water. If you’re tech‑savvy, integrate a small AI‑driven garden planner that suggests optimal planting dates based on local weather patterns and historical data.
Overcoming Common Challenges
Pests: Instead of reaching for chemicals, try natural deterrents—sprinkle crushed eggshells to ward off slugs, or plant garlic near susceptible crops.
Weeds: Mulch is your best friend. It suppresses weed growth and retains moisture. A 2‑inch layer of straw works wonders.
Soil depletion: Rotate crops yearly. Follow the “legume‑leafy‑root” rotation to replenish nitrogen and prevent disease buildup.
Seasonal Calendar at a Glance
| Month | What to Plant | What to Harvest |
|---|---|---|
| January | Start indoor seedlings (tomatoes, peppers) | Root vegetables from previous year |
| February | Cold‑tolerant greens (spinach, lettuce) | Early radishes |
| March | Peas, carrots, broccoli | Winter kale |
| April | Tomatoes (transplant), beans, cucumbers | Early lettuce |
| May | Sweet corn, squash, melons | Peas, early carrots |
| June | Heat‑tolerant herbs (basil, oregano) | Early beans |
| July | Fall crops (broccoli, cabbage) | First tomatoes |
| August | Leafy greens for fall | Summer beans, cucumbers |
| September | Garlic cloves for next year | Early squash, peppers |
| October | Cover crops (clover, rye) | Late‑season carrots, kale |
| November | Prepare beds, add compost | Root veg storage |
| December | Plan next year’s layout | Enjoy preserved harvests |
From Hobby to Lifestyle
When you commit to an edible garden, you’re not just growing food—you’re cultivating a lifestyle that values sustainability, self‑reliance, and creativity. Over time, you’ll notice your meals become more seasonal, your grocery receipts lighter, and your evenings calmer as you unwind among thriving vines.
Final Thoughts: Your Garden, Your Table
Imagine stepping out onto your patio, plucking a handful of sun‑kissed cherry tomatoes, and tossing them into a salad that’s still warm from the garden’s afternoon breeze. That moment of connection—soil to seed, seed to plate—is the reward for every ounce of planning, patience, and perseverance. Start small, stay curious, and let your backyard evolve into a living pantry that nourishes body, mind, and community.

Laura Wilson is a freelance writer specializing in the dynamic and ever-evolving field of health. With a passion for translating complex medical information into accessible and engaging content, Laura brings a wealth of knowledge and a fresh perspective to topics ranging from preventative care and nutrition to cutting-edge research and innovative treatments.
Related Posts
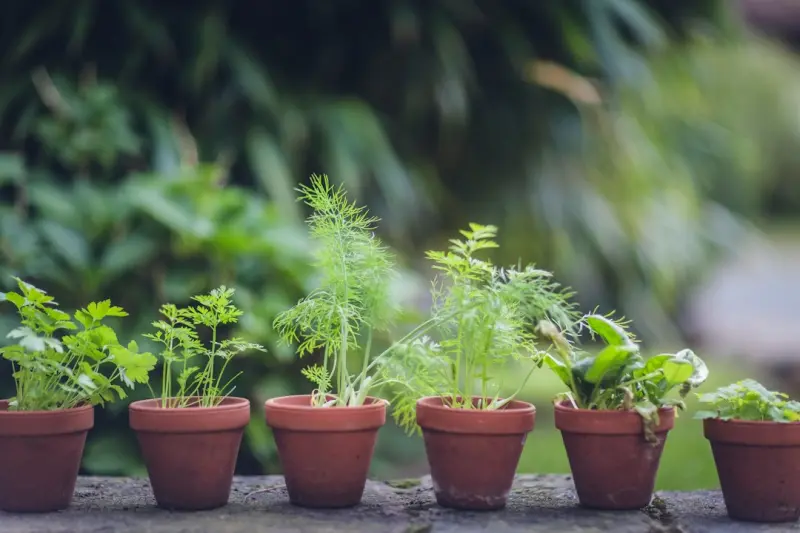
Micro‑Herb Windowsill Gardens: Harvest Fresh Flavors All Year
Learn step‑by‑step how to set up, maintain, and style a micro‑herb garden on your windowsill, ... Read More
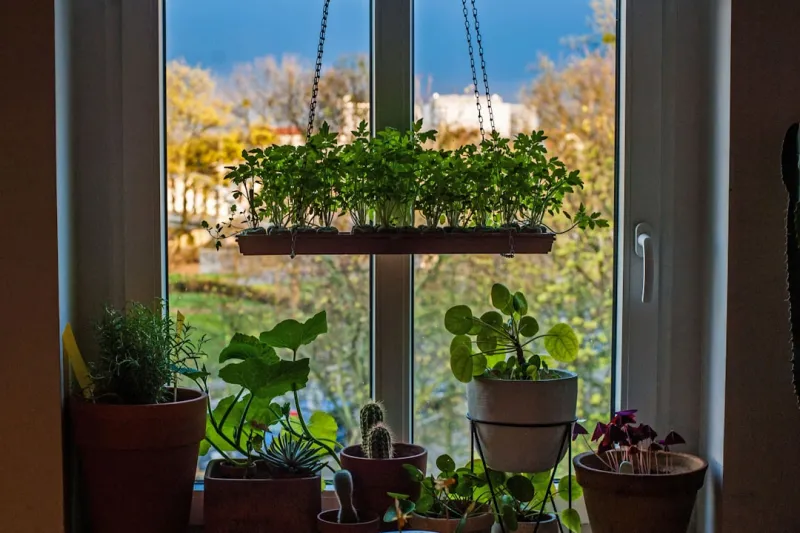
Why My Garden Desk Is the Secret to a Healthier Home & Garden Lifestyle in 2026
Explore the rise of garden desks in 2026, blending work, wellness, and sustainability. Get design ti... Read More
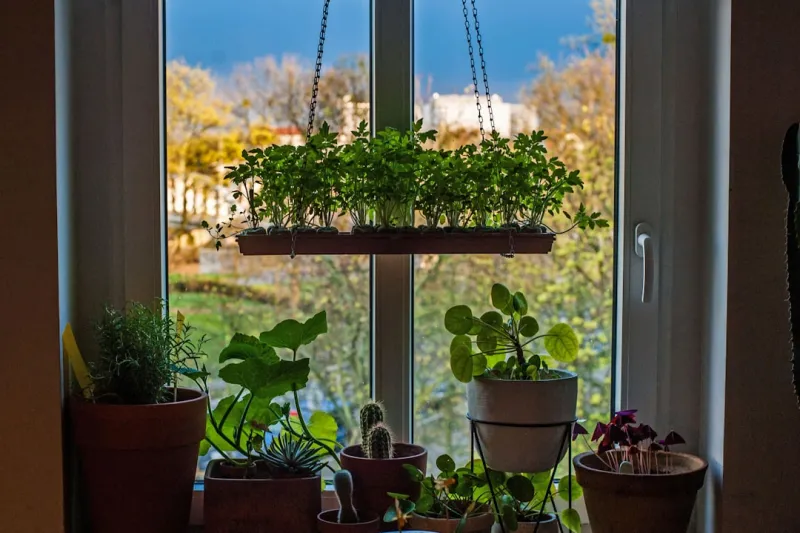
From Backyard to Boardroom: My Garden Desk Journey
Explore the rise of garden desks, their mental‑health benefits, design tips, and why they’re res... Read More
Top Posts

The Ultimate Seasonal Home Maintenance Calendar: Save Money and Stress
A practical, season‑by‑season guide helps homeowners stay ahead of repairs, lower energy bills, and enjoy peace of mind by turning maintenance into a simple...Read More

Unplug to Recharge: How Deliberate Digital Breaks Boost Mental Health
Explore practical strategies for incorporating purposeful digital breaks into daily life, backed by science and real‑world stories, to enhance mental well‑b...Read More

Mastering Salary Negotiation in a Tight Job Market
A step‑by‑step guide to mastering salary negotiation, from market research to leveraging your personal brand, ensuring you earn what you’re worth....Read More

Generative AI as a Catalyst for Inclusive Decision‑Making
Discover how generative AI can serve as a transparent moderator, surfacing under‑represented viewpoints and fostering inclusive decision‑making in distribut...Read More
0 Comments
Post Comment
You will need to Login or Register to comment on this post!